Showing posts with label Art. Show all posts

Wednesday, February 8, 2017

Altered Cigar Box


I was given a lovely selection of cigar boxes.  They were all similar in shape and size, except for the one above.  I liked the square shape and how it opened with a slant.  I decided to alter this cigar box into a Rolodex-style box to organize my yearly goals . . month by month.  To see how I attached the drawer pull click HERE


After decorating the box, I made monthly tabs out of background papers I had painted earlier. 

I then made cards out of cardstock, to go behind the monthly tabs.  Each card represents one category of my monthly goals.  I used fine tip Sharpies to draw the lines and finished the cards by stamping titles on each. 


I didn’t touch the image on the inside of the cigar box as I felt it was perfect as is.


Here’s what my goal box looks like on the inside: 


Now I have no excuse for not working towards my goals.  Well, none right now, anyways. 


Saturday, February 4, 2017

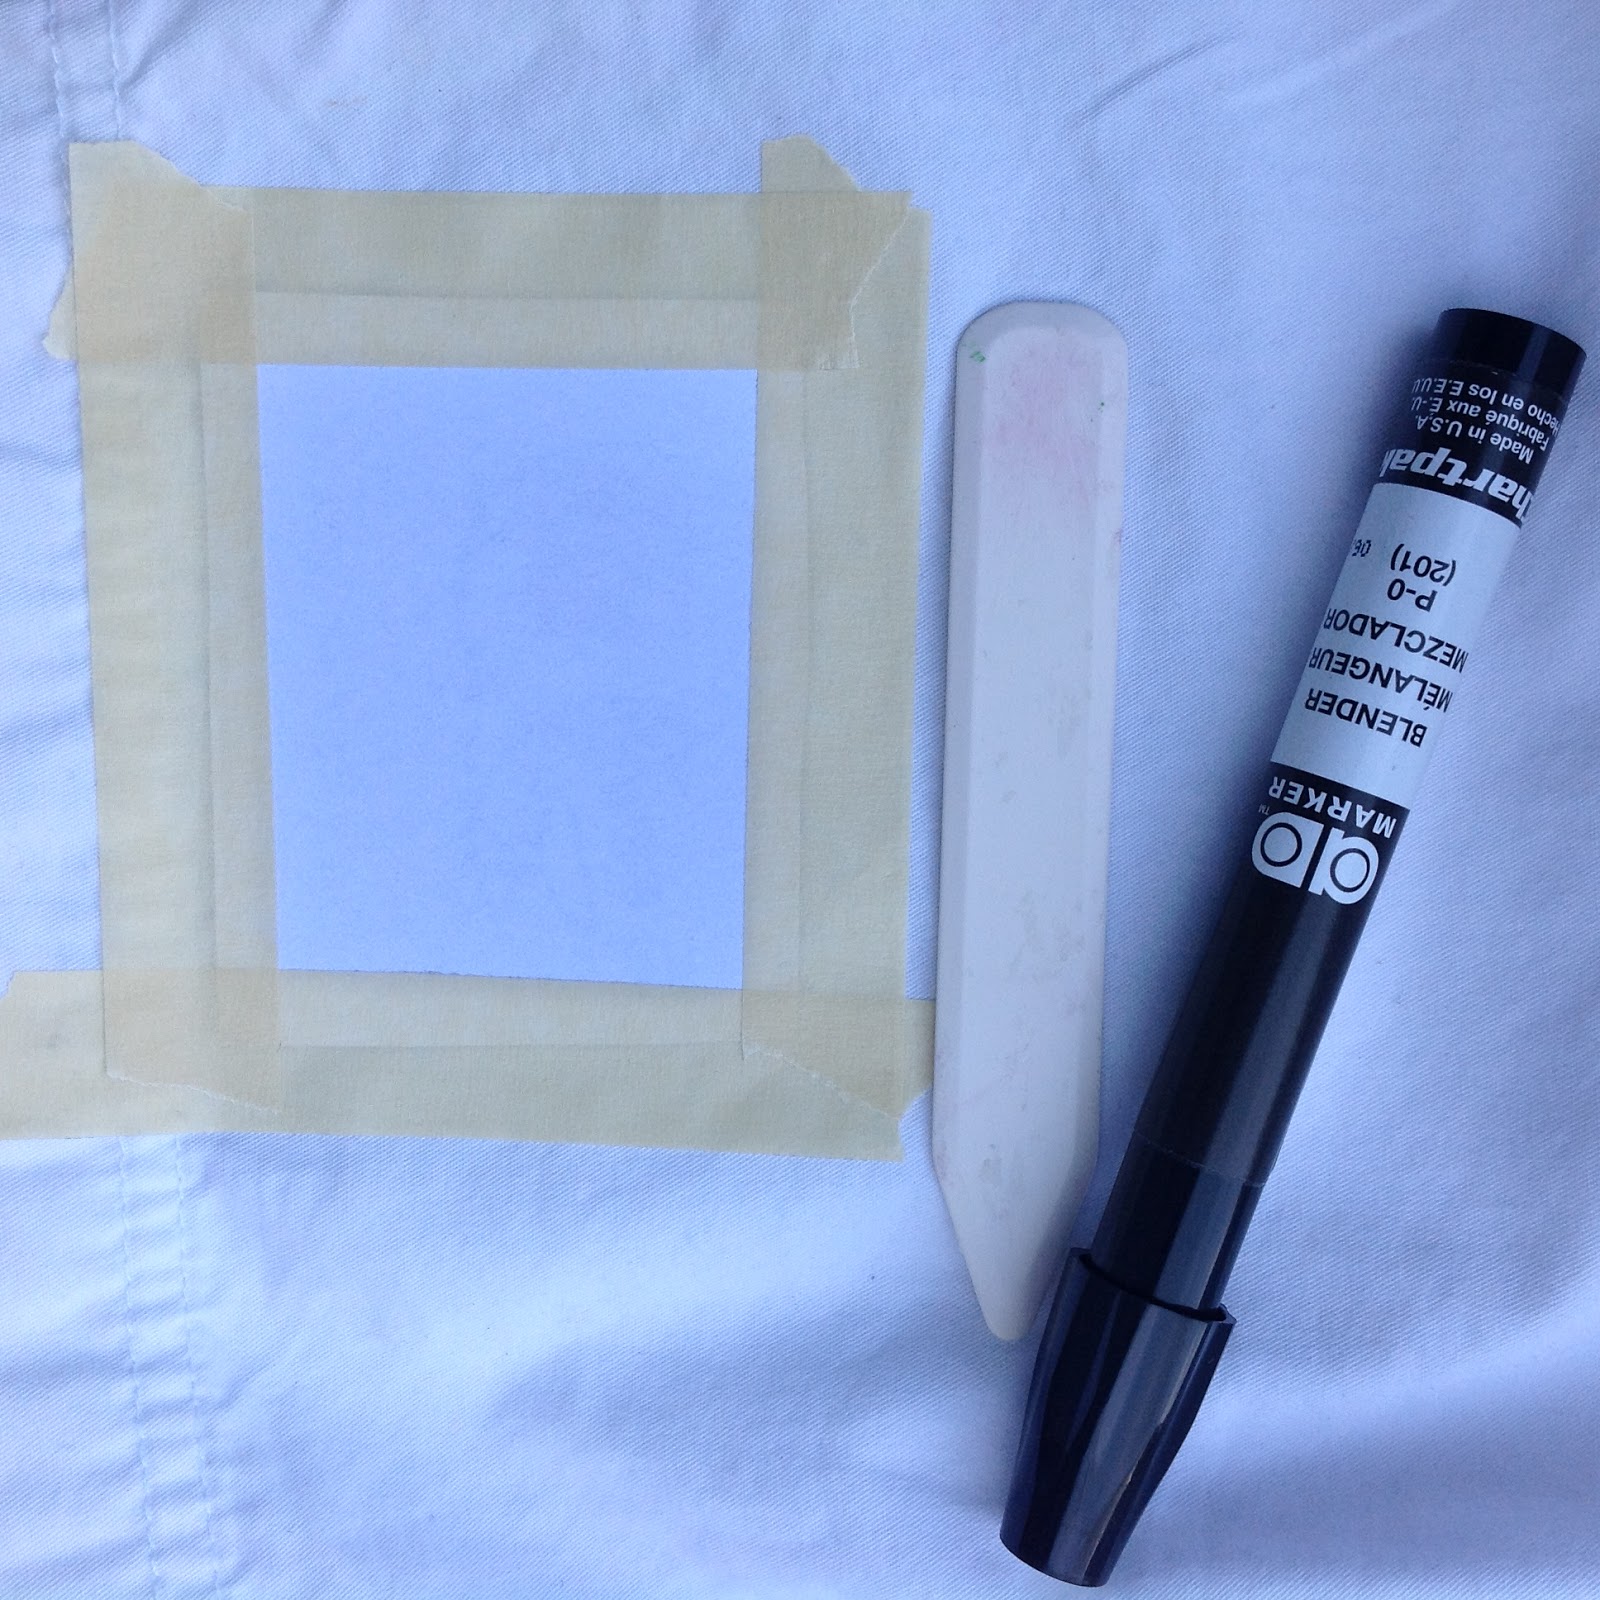
How To Transfer an Image using a Blender Pen


Using a Blender Pen is the easiest way to transfer an image.  Some of the pens are toxic, so you’ll need to use them outdoors or in a ventilated area.


Supplies:
Blender Pen
Photocopy of image you wish to transfer
Paper, fabric, or wood to transfer image onto.
Burnishing tool such as a bone folder, plastic spoon, or even the TV remote. 
Optional:  Masking Tape

Steps: 
1) Pick the image you want to transfer.    
2) Lay your image face down on the surface you want to transfer the image onto.  I tape mine in place, just to ensure success.

3) With a blender pen, swipe across the backside of the photocopy repeatedly, overlapping your strokes.
4) Burnish this area. 
5) If you have a large image to transfer, do it in sections (swipe then burnish). 
6) Lift a corner up and see if you’re happy with the transfer.   If not, reapply the blender pen and burnish again until you’re happy with the results. 


Wednesday, February 1, 2017

How to Make a Stencil Using Hot Glue


I’ve been brainstorming ways to get more use out of my hot glue gun.  I was trying to put texture onto a canvas when I realized I could make stencils with my gun.  First, I sketched what I wanted my stencil to look like. 
I then covered my paper with a piece of parchment paper.  Be sure to use parchment paper, rather than wax paper.  It’s probably obvious that the hot glue will stick to the wax paper.  Well, let’s just say that I double checked that theory and yes, indeed, hot glue does stick to wax paper.

Then I traced the lines of my sketch with the hot glue gun.  Here’s what my stencil looked like when I was done. 

The possibilities are endless.  I’ll be using this stencil in an upcoming project. 


Sunday, January 29, 2017


My mom taught me a trick that I used for my current project.  If you need to glue a hollow object to a flush surface, a hot glue gun will make things easier.  This trick gives your hollow object a flat surface to glue securely to another object.

 Simply fill the hollow object (mine is a dresser handle) with hot glue. 


Sunday, January 22, 2017

In a catalog I found a sweet hummingbird Zentangle that I wanted to sketch for myself.  After I finished sketching him, I decided he needed color.  In the past, I’ve always used markers, which make my Zentangle sketches pop.  I wanted a softer feel for my humming bird, so I decided to use Prisma colored pencils.  To blend the colors, I used the white colored pencil.  I’m planning on using the colored pencils again for my next Zentangle, this time using mineral oil to blend.  I have a photo of a seahorse I took at the Seattle Aquarium that is just begging to be Zentangled.  I’ll post the sketch and share how the mineral oil worked for blending.


Tuesday, January 10, 2017

Framed Charlotte Doll


I don’t know what it is about odd art, but I absolutely love it and seem to be drawn towards creating it.  I came up with the idea for this piece while brainstorming projects I could make using items I already own.  This piece was easy to make and can be assembled within minutes.  I used a frame by Two’s company, measuring 4” X 3”.  The background paper is from a very old Latin book I found at Value Village.  The pages have aged beautifully on their own, but you could easily use new paper and age it with tea or Walnut Ink.  Finally, I used glue and a Charlotte doll head.  If you need a Charlotte head, they can be found on Etsy or eBay.   Voilà – you have your own piece of fabulous, odd art.


Thursday, May 26, 2016

How To Make A Cabinet Card Collage


I’ve been having fun creating cabinet card collages.  Cabinet cards are vintage photos taken by professional photographers in the late 1800’s.  They are extremely thick which makes them perfect for mini collages as they absorb paint without wrinkling or warping.  To make a collage using cabinet cards, you use the same collage techniques you would use on any other project.  Just a reminder, you must use transparent paint so that you can see the layers underneath.  I used watercolor paint. 

You can find cabinet cards on eBay, Etsy, antique stores, estate sales and flea markets.  If you’re looking for cabinet cards in an antique store or flea market, they can usually be found in a box of vintage photos.    This is where you can get them for the best price. 


The best cabinet cards for this project will have a white background.  If your cabinet card has a dark background, the project becomes more difficult.
I purchased this cabinet card because I fell in love with the angelic faces of these children.  Unfortunately I didn’t pay attention to the background.  I’m going to paint the background white and see if I can make it work. 

Tuesday, May 10, 2016

How to Build Layers for your Background


I love the look of depth from layered backgrounds.  When trying this technique, you must use transparent versus opaque paints.  How do you know if a paint is transparent or opaque?  Several paint brands, such as Golden, make it easy to see how transparent their paints are.  On their label, they have a brush stroke of paint coated over black lines.  If you can see the black lines through the paint, the color is transparent.  If it’s hard to see the black lines, that paint is opaque and you won’t see any layers underneath.  Learning about the black lines was an “A-ha” moment for me.  Very handy to know.

This orange paint is transparent as you can see the black lines through the paint stroke on the label.

The blue pain is opaque because it's hard to see the black lines on the label.  You don't want to use this paint to build layers as you won't be able to see any layers peeking through.  Your background will turn into one color only - blue. 
I created the background above by using a circle stencil.  I paired the stencil with different opaque paints (orange, red and yellow).  I built up layers by stenciling on top of previous layers.